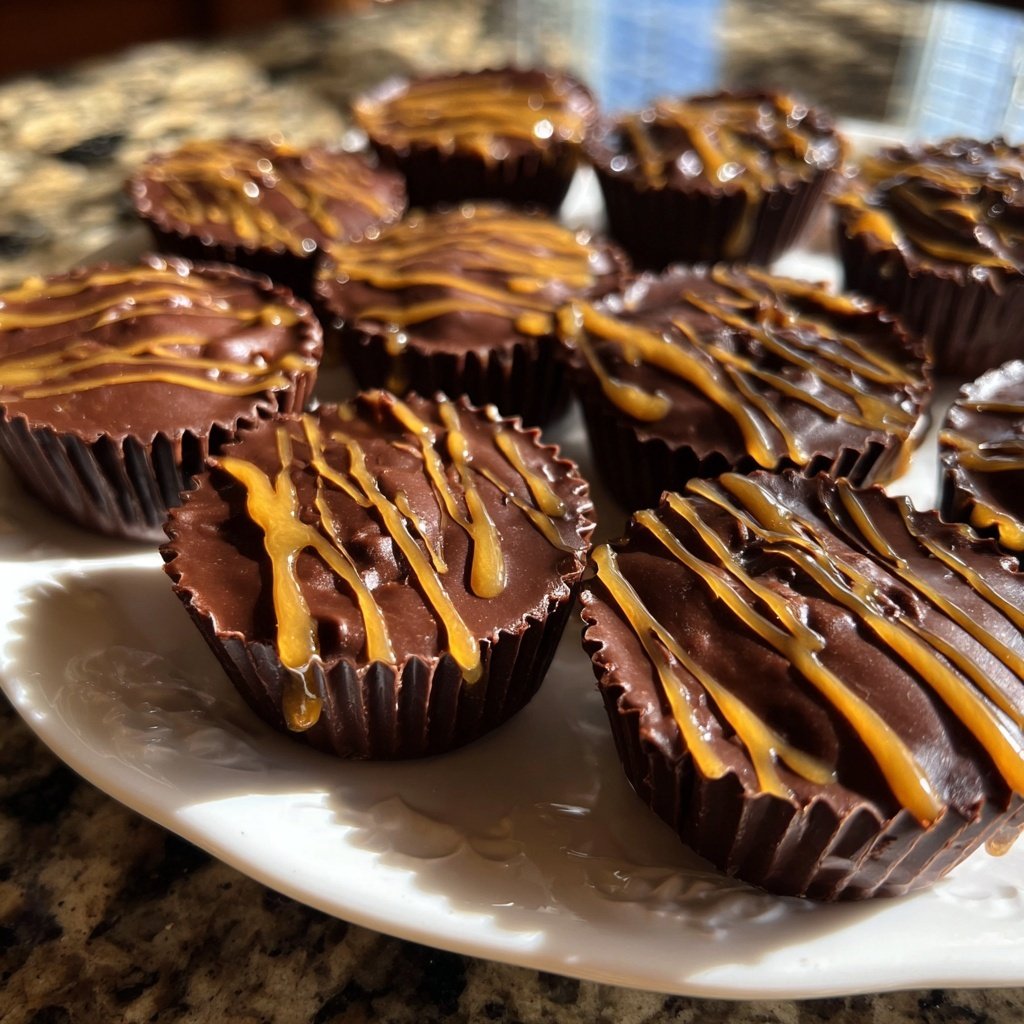
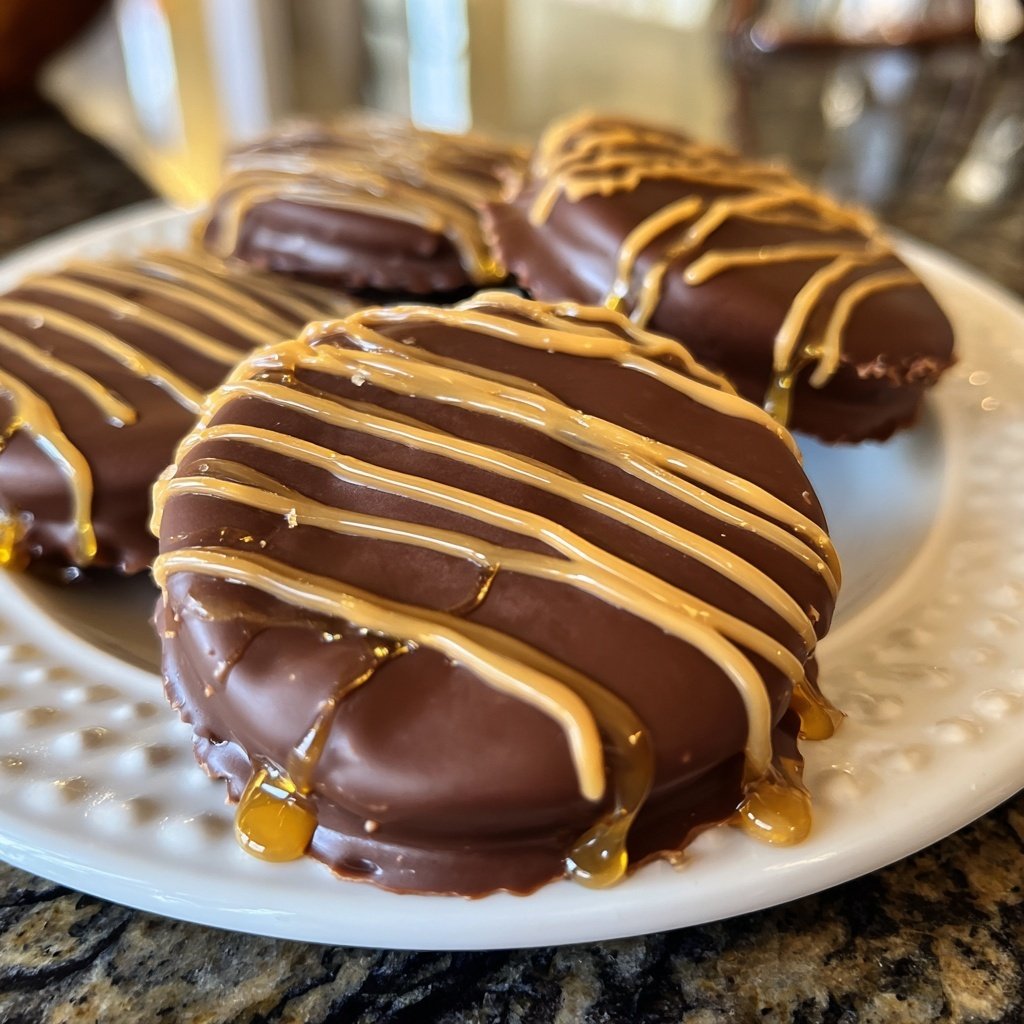
Homemade Reese’s Cups with Honey
Highlighted under: Pastry Love
I absolutely love making these Homemade Reese’s Cups with Honey, as they combine the delightful richness of chocolate with the natural sweetness of honey. Every bite offers a perfect blend of creamy peanut butter and a hint of buzzing honey goodness, making them not just a treat but a healthy indulgence. Preparing them is simple, and I truly enjoy the process of melting chocolate and crafting the perfect cups. Whether for family gatherings or a quick sweet fix, these cups never fail to satisfy my cravings.
When I first attempted making my own Reese’s Cups, I was thrilled to discover how effortlessly they came together. Using honey instead of sugar not only added a unique flavor but also gave me peace of mind knowing they were a bit healthier. I meticulously melted the chocolate and carefully poured it into the molds, which is a delightful step that allows me to see my creation take shape.
After the cups set in the fridge, the moment of truth arrived: tasting them. The combination of creamy peanut butter and honey filling was even better than I expected. I’ve learned since then that using smooth peanut butter enhances the creamy texture, making each bite feel like a luxurious treat. I can never eat just one!
Why You Will Love This Recipe
- Rich chocolate flavor enhanced by natural honey sweetness
- Creamy peanut butter filling that is indulgently smooth
- Easier to make than you think and great for sharing
Perfecting Your Chocolate Layer
When melting the dark chocolate chips, it’s essential to choose a method that you’re comfortable with. If using a microwave, heat the chocolate in 30-second intervals, stirring in between until it’s completely smooth. This helps prevent overheating, which can cause the chocolate to seize up. If you're using a double boiler, keep the heat low and ensure that the bottom pot doesn’t touch the water, which can create steam and ruin the chocolate's texture.
Once you have your melted chocolate, it should be glossy and pourable. If it thickens before you’ve finished pouring, just give it a quick blast in the microwave. Dosage is key; each mold should have about a tablespoon of chocolate in the base to ensure a nice, thick layer that holds up to the peanut butter. Aim for an even spread for aesthetic appeal and to prevent any areas from being too thick or too thin after setting.
Crafting the Peanut Butter Filling
The combination of peanut butter and honey in this filling is what truly elevates these homemade cups. I recommend using a creamy peanut butter for a smoother consistency that mixes easily. Natural peanut butter works, but it may need a bit more honey for binding due to its runny texture. Make sure to mix until you don’t see any streaks of honey or vanilla; this ensures every bite is deliciously uniform.
Remember that the quality of your ingredients will shine through in the flavor. Opting for a high-quality honey adds depth and a floral note that balances the richness of the chocolate and peanut butter. If you're aiming for a nut-free version, try using sun butter, which mimics the texture and flavor profile, offering a delightful alternative.
Chilling and Serving Your Cups
After assembling your cups, the chilling step is crucial. Place them in the fridge until they're set, ideally around 15 to 20 minutes. This quick chill ensures that both the chocolate and filling firm up perfectly, making it easier to remove them from the molds without breaking. Keep an eye on them; they should be firm to the touch but not rock-hard. If you want to impress, consider giving them a sprinkle of sea salt right before serving to enhance flavor complexity.
If you’re preparing these ahead of time, they can be stored in an airtight container in the fridge for up to a week, or even longer in the freezer. Just be sure to layer parchment paper between the cups to prevent them from sticking together. When ready to enjoy, allow them to thaw for about 10 to 15 minutes at room temperature for the best texture.
Ingredients
Ingredients
For the Cups
- 1 cup dark chocolate chips
- 1 cup creamy peanut butter
- 1/4 cup honey
- 1/2 teaspoon vanilla extract
- 1/4 teaspoon salt
For Topping
- Extra chocolate for drizzling (optional)
Make sure to have your muffin tins or silicone molds ready for the best results!
Instructions
Instructions
Prepare the Molds
Line a muffin tin with paper liners or use silicone molds for easy removal.
Melt the Chocolate
In a microwave or double boiler, melt the dark chocolate chips until smooth, stirring frequently.
Create the Bottom Layer
Spoon a small amount of melted chocolate into the base of each mold, spreading it evenly.
Make the Filling
In a bowl, mix the peanut butter, honey, vanilla extract, and salt until well combined.
Add Filling and Top
Spoon the peanut butter mixture over the chocolate in each mold, then cover with more melted chocolate.
Chill and Set
Place the molds in the fridge for about 15 minutes or until firmly set.
Serve and Enjoy
Gently remove the cups from the molds and enjoy your homemade treats!
These cups are best enjoyed fresh but can be stored in an airtight container for up to a week.
Pro Tips
- For an extra texture, try adding chopped nuts or a sprinkle of sea salt on top before they set.
Ingredient Substitutions
If you don’t have dark chocolate chips on hand, semi-sweet chocolate can be a suitable substitute, imparting a similar sweetness. For those looking to reduce sugar intake, consider using sugar-free dark chocolate chips, which can be melted in the same way. Just be aware that the final product will vary slightly in taste and texture, as sugar-free options may have different melting properties.
For the peanut butter, if allergies are a concern or if you’re simply looking for a change, almond butter or cashew butter are excellent alternatives. They both provide that creamy texture while offering a new flavor profile. Additionally, both nut butters tend to be a bit softer than peanut butter, so you may need to adjust the amount of honey slightly for the perfect consistency.
Serving Suggestions
These Homemade Reese’s Cups with Honey can be a delightful addition to dessert platters during family gatherings or parties. To elevate presentation, you might drizzle a little extra melted chocolate on top or finish them with crushed nuts or sea salt for added crunch. Arranging them neatly on a decorative platter will instantly impress your guests, turning a homemade treat into a gourmet experience.
For a twist on serving, consider using them as a filling for cakes or cupcakes. Simply chop up the cups and fold them into your cake batter for an unexpected surprise, or use them as a topping for ice cream. The possibilities are endless, and they can truly enhance other desserts beyond just being a standalone treat.
Questions About Recipes
→ Can I use milk chocolate instead of dark chocolate?
Yes, using milk chocolate will give a sweeter flavor, but ensure it's suitable for your diet.
→ How long will these cups last?
They can be stored in an airtight container in the fridge for up to one week.
→ Can I substitute the peanut butter?
Absolutely! You can use almond butter or any nut butter of your choice.
→ Is there a vegan option?
Yes, you can use dairy-free chocolate and a plant-based butter alternative.
Homemade Reese’s Cups with Honey
What You'll Need
For the Cups
- 1 cup dark chocolate chips
- 1 cup creamy peanut butter
- 1/4 cup honey
- 1/2 teaspoon vanilla extract
- 1/4 teaspoon salt
For Topping
- Extra chocolate for drizzling (optional)
How-To Steps
Line a muffin tin with paper liners or use silicone molds for easy removal.
In a microwave or double boiler, melt the dark chocolate chips until smooth, stirring frequently.
Spoon a small amount of melted chocolate into the base of each mold, spreading it evenly.
In a bowl, mix the peanut butter, honey, vanilla extract, and salt until well combined.
Spoon the peanut butter mixture over the chocolate in each mold, then cover with more melted chocolate.
Place the molds in the fridge for about 15 minutes or until firmly set.
Gently remove the cups from the molds and enjoy your homemade treats!
Extra Tips
- For an extra texture, try adding chopped nuts or a sprinkle of sea salt on top before they set.
Nutritional Breakdown (Per Serving)
- Calories: 200 kcal
- Total Fat: 15g
- Saturated Fat: 3g
- Cholesterol: 0mg
- Sodium: 75mg
- Total Carbohydrates: 18g
- Dietary Fiber: 1g
- Sugars: 12g
- Protein: 5g